Introduction
Peeling and sticking a decal onto a car door is easy. Wrapping an entire vehicle is not the same job.
Vinyl vehicle wrap installation demands thorough cleaning, precise alignment, controlled stretch over curves, heat to seat the film, and paint-safe trimming. Avery Dennison describes vehicle wrapping as one of the most demanding applications for graphic films, warning that shortcuts substantially raise the odds of failure.
Small flat decals may suit an experienced DIY installer. Full wraps, complex curves, commercial fleets, and expensive paint jobs call for trained hands.
Rushed installs cause bubbles, wrinkles, lifting edges, overstretched film, and paint damage. This guide walks through the full process, from prep to aftercare, so you know exactly what a proper installation requires.
Key Takeaways
- Preparation and controlled technique matter more than the adhesive film itself
- Clean, fully cured paint and a controlled workspace are non-negotiable
- Methodical positioning, heating, trimming, and post-heating lock the film for a durable finish
- Full wraps and multi-vehicle fleet programs are best left to professional installers
- Final inspection and aftercare prevent premature edge lifting and bubbling
Installation Guide for Vinyl Vehicle Wraps
Every vinyl wrap installation follows four broad stages: vehicle preparation, film planning and positioning, controlled application and finishing, and post-installation validation.
Time and skill requirements shift depending on:
- Vehicle size and body shape
- Wrap coverage (full, partial, or accent panels)
- Film type and quality
- Paint condition
- Number of panels involved
- Whether old graphics need removal first
Business and fleet projects add another layer. Approved artwork, vehicle specifications, installation scheduling, and a way to document completed work all need to be locked in before anyone opens a roll of film.
Prerequisites and Safety Considerations
The workspace matters as much as the installer's skill. 3M's vehicle prep guidelines call for a clean, dry, indoor space kept away from doors, vents, and other contamination sources, with a general operating temperature range of 10-38°C (50-100.4°F).
Dust is the enemy here — vacuum the floor, wet it down instead of sweeping right before the job, and cover the tires.
Before any film touches the vehicle, confirm it's ready:
- Wash and degrease every seam, panel edge, wheel arch, door jamb, handle, and mirror
- Inspect the paint for rust, peeling, deep scratches, dents, loose trim, or filler work
- Remove or work around mirrors, badges, handles, lights, moldings, and racks
Freshly painted panels need extra curing time before wrapping. ORAFOL requires paintwork to be fully cured and meet OEM specifications before application — installing over unstable paint is one of the fastest ways to trap a problem under the film permanently.
Don't proceed if the surface is wet, waxed, oily, contaminated, structurally damaged, or actively rusting. And always follow the specific film manufacturer's temperature and prep guidance rather than generic techniques picked up from a forum post.
Tools and Parts Required
A proper install kit goes well beyond a squeegee and a blade. Essential tools include:
- Vehicle-safe cleaning products and degreaser
- Lint-free or microfiber cloths
- Clay bar or equivalent surface-prep tool
- Measuring tape and masking tape
- Wrap magnets for holding film in place
- Felt-edged squeegee
- Gloves
- Sharp blades
- Heat gun
- Infrared thermometer
Project-dependent extras include knifeless tape, edge sealer, adhesive remover, trim-removal tools, ladders, panel stands, and extra lighting.
Cutting tools deserve special attention. Avery's certification study guide recommends knifeless tape specifically because it prevents cutting through the film into clear coat or paint — a mistake that turns a wrap job into a paint-repair bill. Never swap a sharper blade for better control.
Finally, order more film than the math suggests you need. Overlaps, complex panels, pattern matching, mistakes, and future spot repairs all eat into your margin. Exact quantities depend on the vehicle and coverage plan, but a padded order costs less than a mid-install shortage.
How to Install Vinyl Vehicle Wraps Step-by-Step
Skipping steps here is where most installs go wrong — especially around cleaning, heat control, and post-heating.
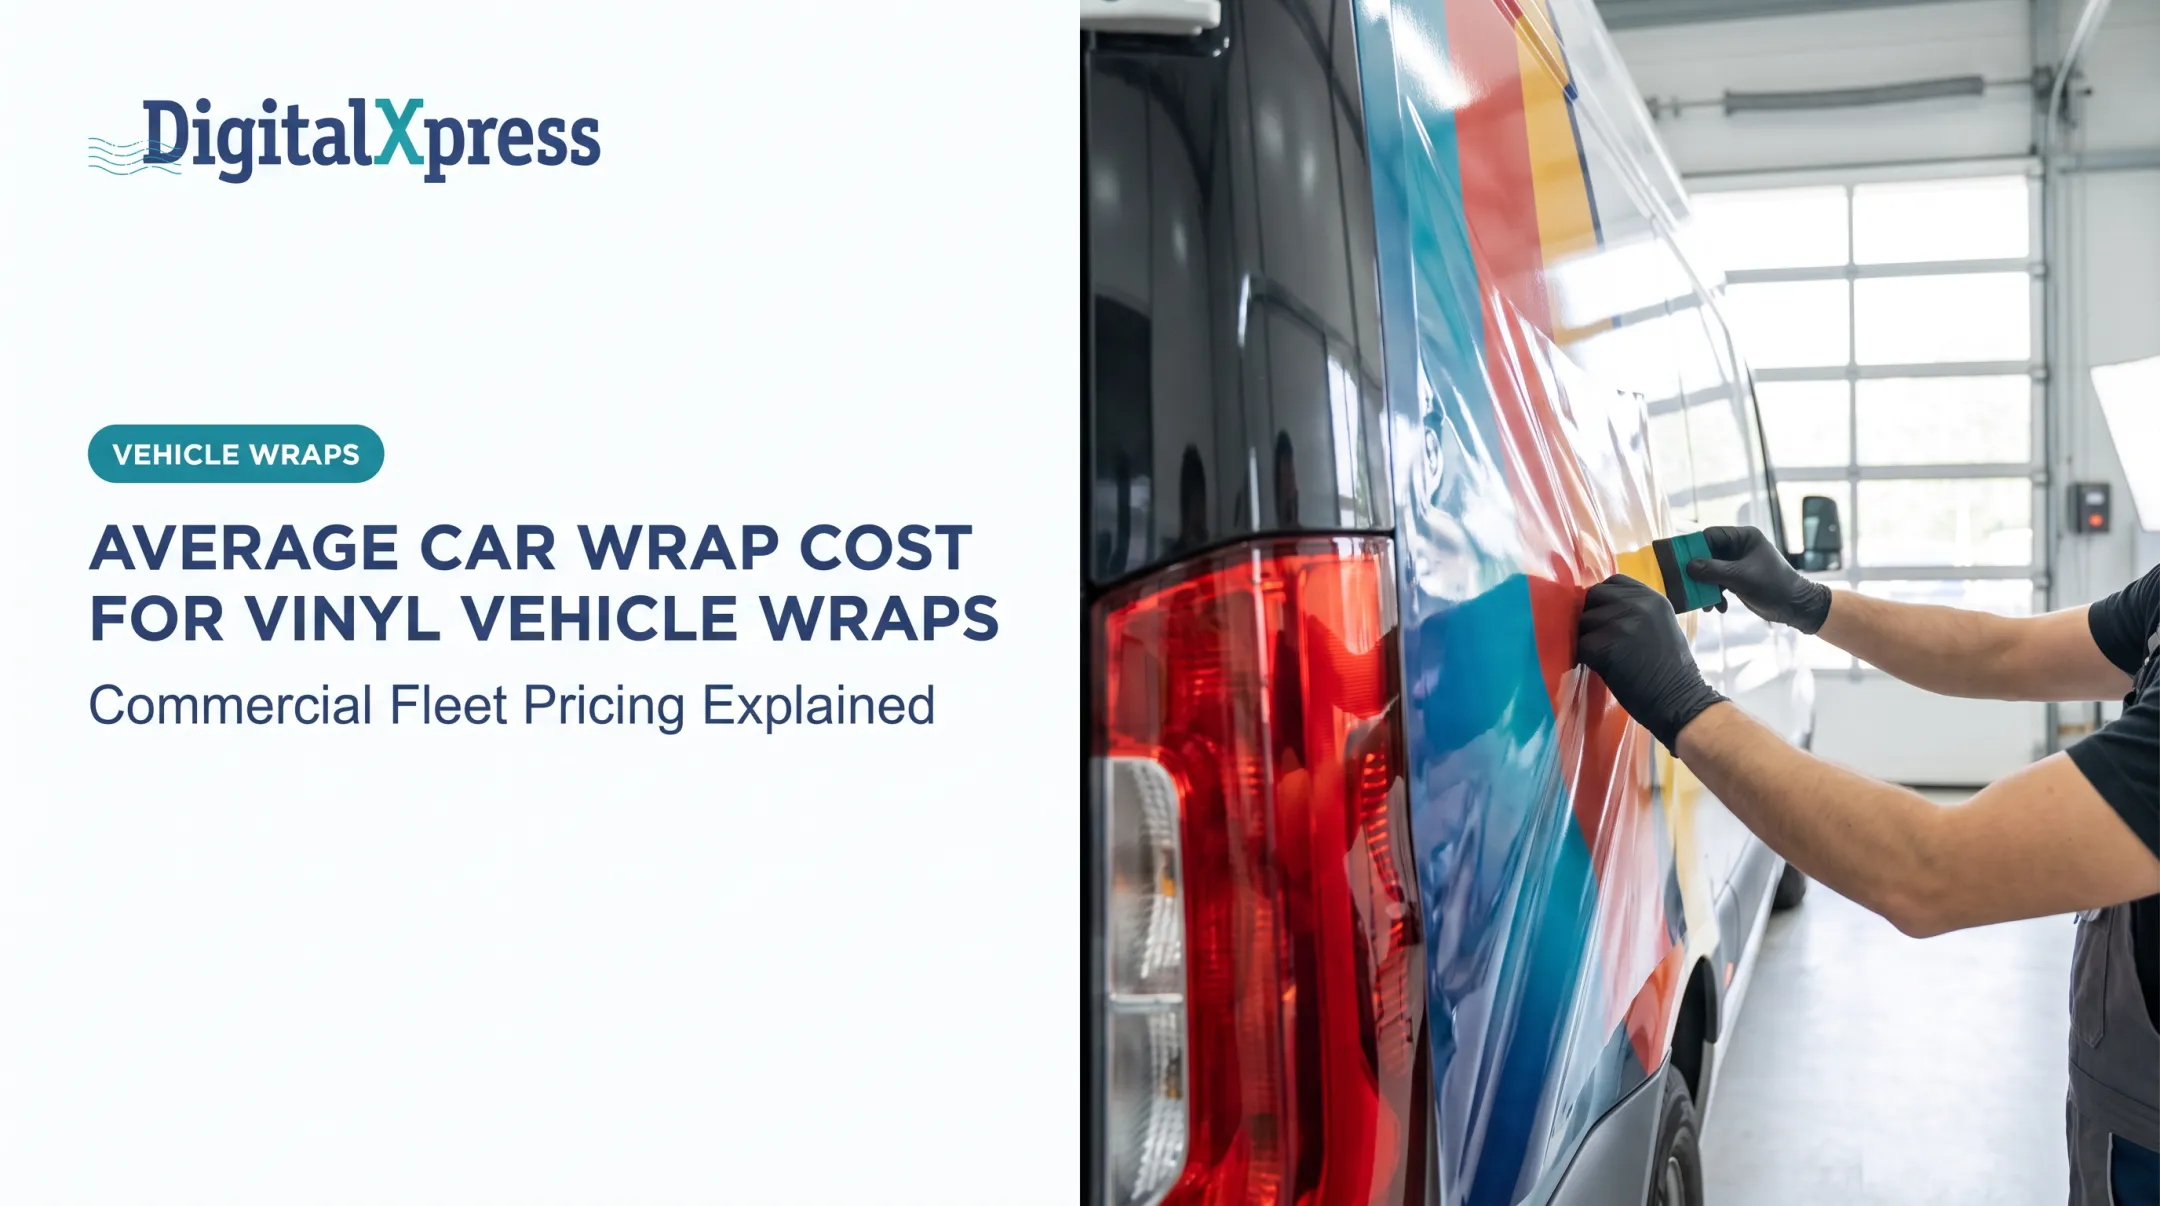
1. Prepare and measure the vehicle. Clean and dry every panel, recess, seam, and edge. Strip wax, polish, grease, and silicone residue. Measure each area and plan panel breaks, overlaps, seam direction, and logo placement before cutting.
2. Plan, position, and rough-trim. Lay the film over the panel with the liner on to confirm coverage, orientation, and graphic alignment. Rough-cut with generous margins, and keep liner and print off dusty floors and dirty tools.
3. Apply and tack the film. Avery's SW900 instructions use a masking-tape hinge: expose a small section of adhesive at a time and work outward from the hinge. A second person on larger sections keeps the film relaxed so adhesive does not fold onto itself.
4. Squeegee and conform around curves. Work center to edge with overlapping strokes and a felt-edged squeegee. Lift and reposition wrinkles — never squeegee over them. Use controlled heat on moderate curves; overstretching thins the film and shifts color.
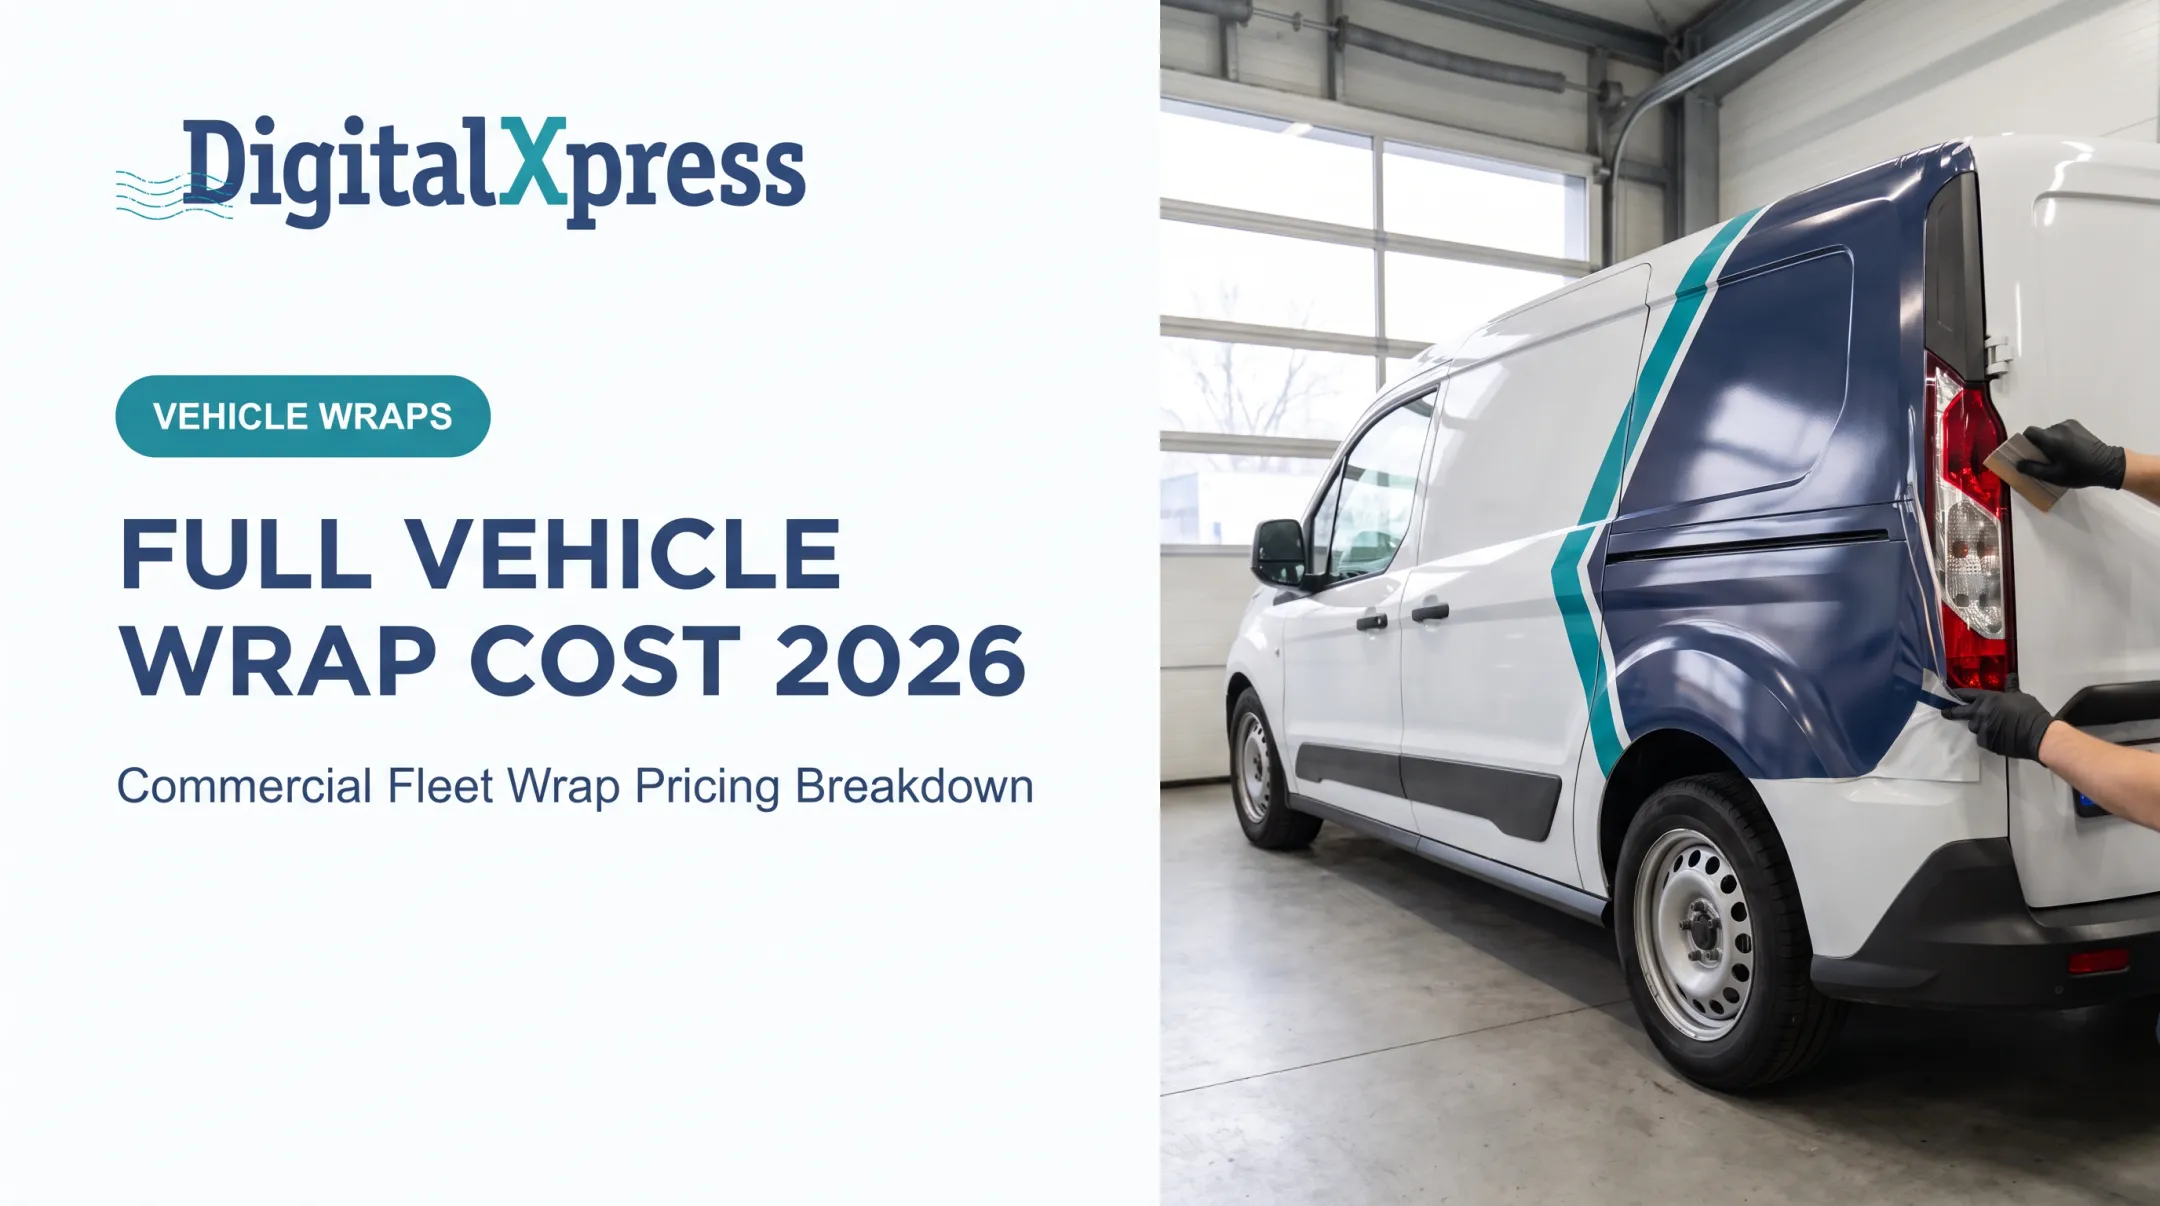
5. Trim, wrap edges, and finish. Trim excess along panel gaps with knifeless tape where possible. Warm and tuck film around edges and recesses without forcing it into areas that need disassembly.
6. Post-heat and cure. This step gets skipped more than any other. Avery's SW900 bulletin specifies post-heating stretched areas to 175-194°F (80-90°C), then firmly re-squeegeeing edges, overlaps, and seams while the film is warm. Wait 24 hours before returning the vehicle to service.

Post-Installation Checks and Validation
Before calling the job done, inspect the wrap visually and by touch. Look for:
- Bubbles, wrinkles, or trapped fingers of air
- Lifting edges or exposed paint
- Uneven seams or overstretched sections
- Trapped debris under the film
- Inconsistent panel alignment
Open every door, hood, and trunk panel. Check handles, lights, sensors, and vents to confirm nothing catches on the film.
For fleet and commercial jobs, compare the finished graphics against approved artwork and photograph each side, the front, rear, and unit number. This documentation matters later if a panel needs warranty attention or a repaint.
Once everything checks out, follow the film manufacturer's washing guidance: gentle hand washing, no aggressive pressure near edges and seams, and periodic checks on high-contact areas like door handles and mirrors.
Common Vinyl Wrap Installation Problems and Fixes
Most wrap failures trace back to contamination, poor film handling, excessive stretching, or weak heat control — not one isolated mistake.
Issue 1: Bubbles, Wrinkles, or Trapped Air
- Problem: Air pockets or creases appear after application, especially in recesses and curved panels.
- Cause: Poor cleaning, film laid under tension, or squeegeeing over a wrinkle instead of lifting it first.
- Fix: Release bubbles with an air-release tool or straight pin — never a blade. Replace severely creased or contaminated sections instead of hiding them.
Issue 2: Lifting Edges, Seams, or Recessed Areas
- Problem: Film pulls back from an edge, seam, or wheel arch shortly after install.
- Cause: Inadequate cleaning, excessive stretching, or skipped post-heating.
- Fix: Re-clean and reapply if adhesive is still usable, then post-heat to the manufacturer’s spec. Re-squeegee every edge, overlap, and seam after the film cools. Replace sections that have lost adhesive memory — don’t patch them.
Issue 3: Paint Damage or Visible Cutting Marks
- Problem: Scratches or clear-coat cuts show up during trimming or removal.
- Cause: Too much blade pressure, a dull blade, or cutting against unstable paint.
- Fix: Prefer paint-safe methods like knifeless tape. Inspect paint before you start, and repair damaged panels before wrapping — film won’t hide the defect.

Pro Tips for Installing Vinyl Vehicle Wraps Effectively
A few habits separate a clean install from a redo:
- Prep everything before opening the film. Washing, degreasing, trim removal, and artwork confirmation belong on their own schedule so they don't cut into install time.
- Start with easier, flatter panels. Build confidence and technique before moving to bumpers, mirrors, and complex curves.
- Keep hands and tools clean. Dust on gloves or squeegees transfers straight onto the adhesive.
- Use heat deliberately, not continuously. Keep the heat source moving and follow the film manufacturer's conforming and post-heating specs instead of guessing by feel.
- Document everything on fleet jobs. Approved artwork, vehicle IDs, install photos, and sign-off create a record you'll want later.
Professional installation is worth the cost when a project involves:
- Full color changes
- Complex body geometry
- Expensive or already-damaged paint
- Large format printed graphics
- Multiple vehicles or strict brand consistency across a fleet
At Digital XPress, we handle vehicle wrap and cut vinyl lettering from design through printing and installation. One team coordinates creative production and physical application, so the work stays with us as your single partner instead of multiple vendors. That matters most on multi-vehicle rollouts, where consistent branding and one point of accountability keep a fleet update on schedule.

Conclusion
Vinyl vehicle wrap installation shapes finished look, adhesion, durability, and cost. Preparation and precision drive the result.
Before the vehicle goes back on the road:
- Inspect the vehicle carefully
- Use the right tools and film-specific techniques
- Follow a disciplined sequence from cleaning through post-heating and validation
For full wraps, complex body panels, or fleet programs where consistent branding matters, professional installation remains the most practical path. We handle vehicle and fleet branding in-house, from print through installation, when you need that consistency without managing the process yourself.
Frequently Asked Questions
How much does it cost to fully vinyl wrap a car?
Cost depends on vehicle size, film type, coverage, artwork, paint condition, and any old-graphic removal. Request a project-specific quote instead of a flat industry average.
How long will a wrap last on a car?
Lifespan varies with film quality, installation technique, climate, sun exposure, storage, and washing habits. Confirm the film’s warranty terms with your installer for a realistic timeline.
Is it cheaper to wrap a car than to paint it?
It depends on the vehicle's condition and project scope. Wraps typically cost less than a premium respray and preserve the factory finish underneath, while paint generally lasts longer and offers a deeper, more permanent finish.
Can a wrapped car go through a carwash?
Hand washing is the safest option. Automatic brush washes can scratch or lift edges, so if an automatic wash is unavoidable, choose a touchless option and wait at least 72 hours after installation first.